Easter DIY's
I figured that I should've uploaded this post before Easter but I just didn't have time due to the busy weekend that has just passed. I've come up with a few ideas to share with you that you could probably make for spring as well as Easter.


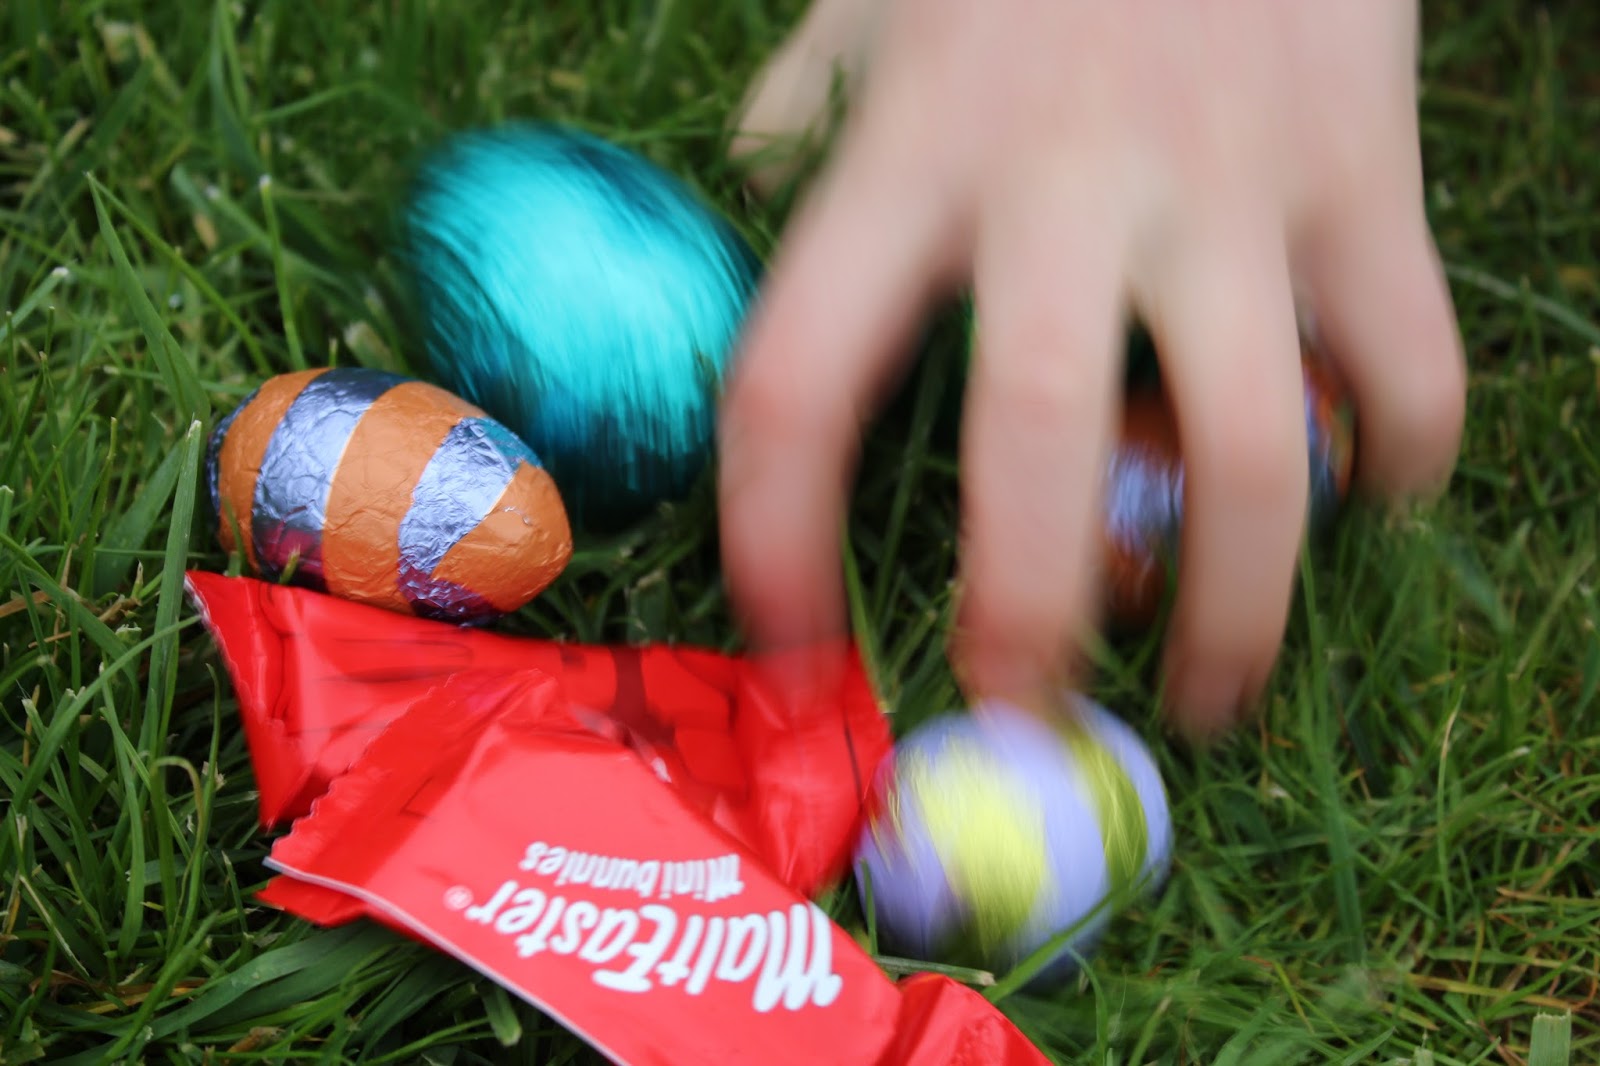
Easter Confetti

Festive Nails (Nail Varnishes linked at bottom of page)


Step 1
Paint two coats of pastel colours on your selected nails. I did yellow on the thumb and baby finger. On the index and ring finger, I chose blue. Finally, Pink on the middle finger.


And dab on all the nails in dots apart from the middle finger where I angled it slightly so it gave more of a leaf-like design.
 Step 3
Leave to dry apply a clear top coat and, once dry, they're complete!!!

I LOVED creating this scene to take my photos in front of and so may have gone a bit overboard with the photos. Here are a few more:


 My previous post- March Must-Haves 2018:


Rice Crispy Cakes
These are so delicious and irresistible. I cannot say that I made these myself 😕 but they were so tasty, I asked for the recipe and it turns out it's at this link: http://www.funkidslive.com/food/chocolate-rice-krispie-cakes/

Easter Tree
To make this cute Easter-themed tree, (which is a tradition in our household) you will need to go outside and find a branch from a tree that has enough branches but the perfect size to fit it in your house. I also used a white pot in which I stuffed with yellow tissue paper to support the tree.

You also make some eggs, decorated with chicks, bunnies, patterns and Easter images, hole-punched at the top and hung up with thread. For added effect, I placed little chicks in the branches and on top of the yellow tissue paper in the pot.
Easter Confetti
For the scene, I decided that it was quite bland and so it needed some bursts of Easter colours. Hence why I made the confetti. It was so simple! I just laid different colours of tissue paper on top of each other, folded it and cut them to size. Here was my experiment with them (photography wise):


Easter Biscuits
These were made with the Mary Berry's Easter Biscuit recipe (exchanging the lemon zest for satsuma zest): https://www.bbc.co.uk/food/recipes/mary_berrys_easter_46791

Festive Nails (Nail Varnishes linked at bottom of page)
Here is how I created these Spotty, Easter nails:


Step 1
Paint two coats of pastel colours on your selected nails. I did yellow on the thumb and baby finger. On the index and ring finger, I chose blue. Finally, Pink on the middle finger.

Step 2
Use a toothpick by sticking it into the brush, like this:

And dab on all the nails in dots apart from the middle finger where I angled it slightly so it gave more of a leaf-like design.

Leave to dry apply a clear top coat and, once dry, they're complete!!!

I LOVED creating this scene to take my photos in front of and so may have gone a bit overboard with the photos. Here are a few more:


Thank you for reading this post! If you liked it, click the 'Follow' button to see more of my posts and to get updates via email when upload so that you can be the first to read them! Also, tell me what you liked best about it in the comments!
Stay tuned for more,
Elly🍫
Nail Varnishes:
https://www.beautyuk-cosmetics.com/products/nail-polish?variant=25022172937 (Similar)
http://www.boots.com/rimmel-london-60-seconds-super-shine-by-rita-ora-10193024? in Neon Fest
http://www.boots.com/rimmel-london-60-seconds-super-shine-nail-polish-10193072 in Breakfast In Bed
Nail Varnishes:
https://www.beautyuk-cosmetics.com/products/nail-polish?variant=25022172937 (Similar)
http://www.boots.com/rimmel-london-60-seconds-super-shine-by-rita-ora-10193024? in Neon Fest
http://www.boots.com/rimmel-london-60-seconds-super-shine-nail-polish-10193072 in Breakfast In Bed

https://ellycuriouswords.blogspot.co.uk/2018/03/march-must-haves-2018.html
MY LINKS:
Twitter:
https://twitter.com/EllyCuriousWord @EllyCuriousWord
My Bloglovin' Account:
http://www.bloglovin.com/blogs/curious-words-19331403
My Pinterest Account:
https://www.pinterest.co.uk/ellycuriouswords/
Use the button here to share with friends!!!
||
||
v

Some lovely colourful Easter pictures and good ideas-think I will go and eat chocolate now!
ReplyDeleteGood plan. I will too! Xx
Delete